
Table of Contents
- Introduction
- 1. Paint Your Cabinets
- 2. Install New Hardware for Your Kitchen Upgrades
- 3. Add a Backsplash
- 4. Upgrade Lighting Fixtures
- 5. Revive Your Countertops
- a. Painted Countertops
- b. Contact Paper
- 6. Create a Kitchen Island
- 7. Open Shelving
- 8. Organize Your Kitchen
- 9. Personalize Your Kitchen
- 10. Install a Tile Backsplash
- 11. Upgrade Your Faucet
- 12. Create a Coffee Nook
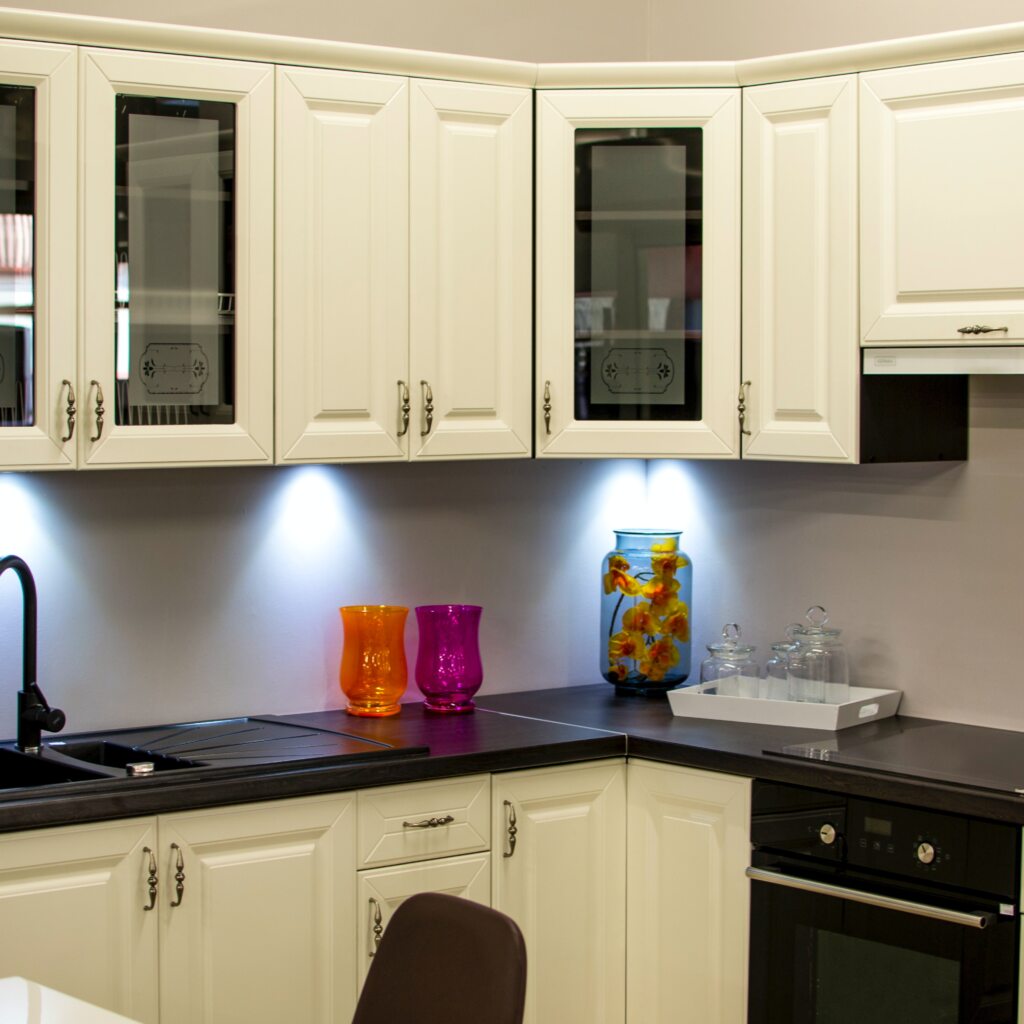
- 13. Reface Your Cabinets
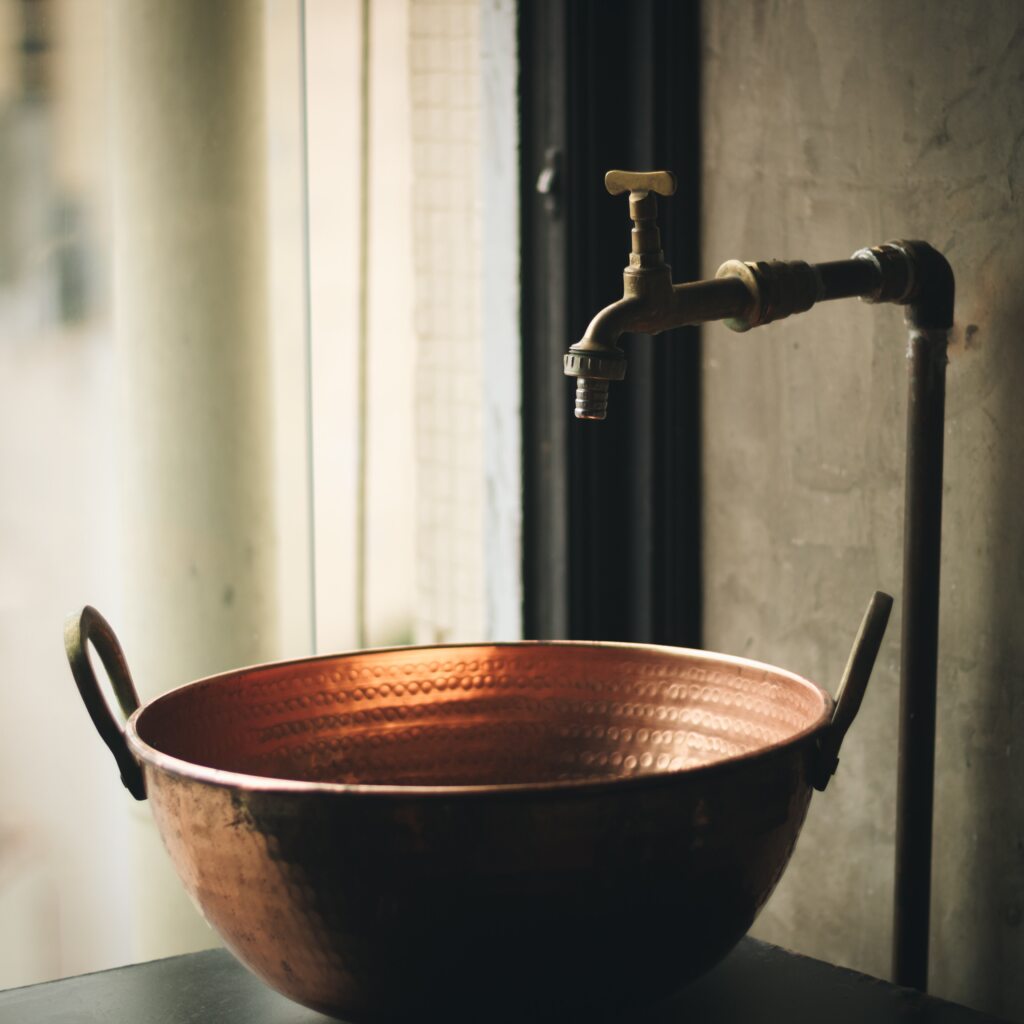
- 14. Install a Pot Filler Faucet
- 15. Create a Chalkboard Wall
- 16. Add Under-Cabinet Lighting
- 17. Install a Wine Rack
- 18. Organize Your Spice Collection
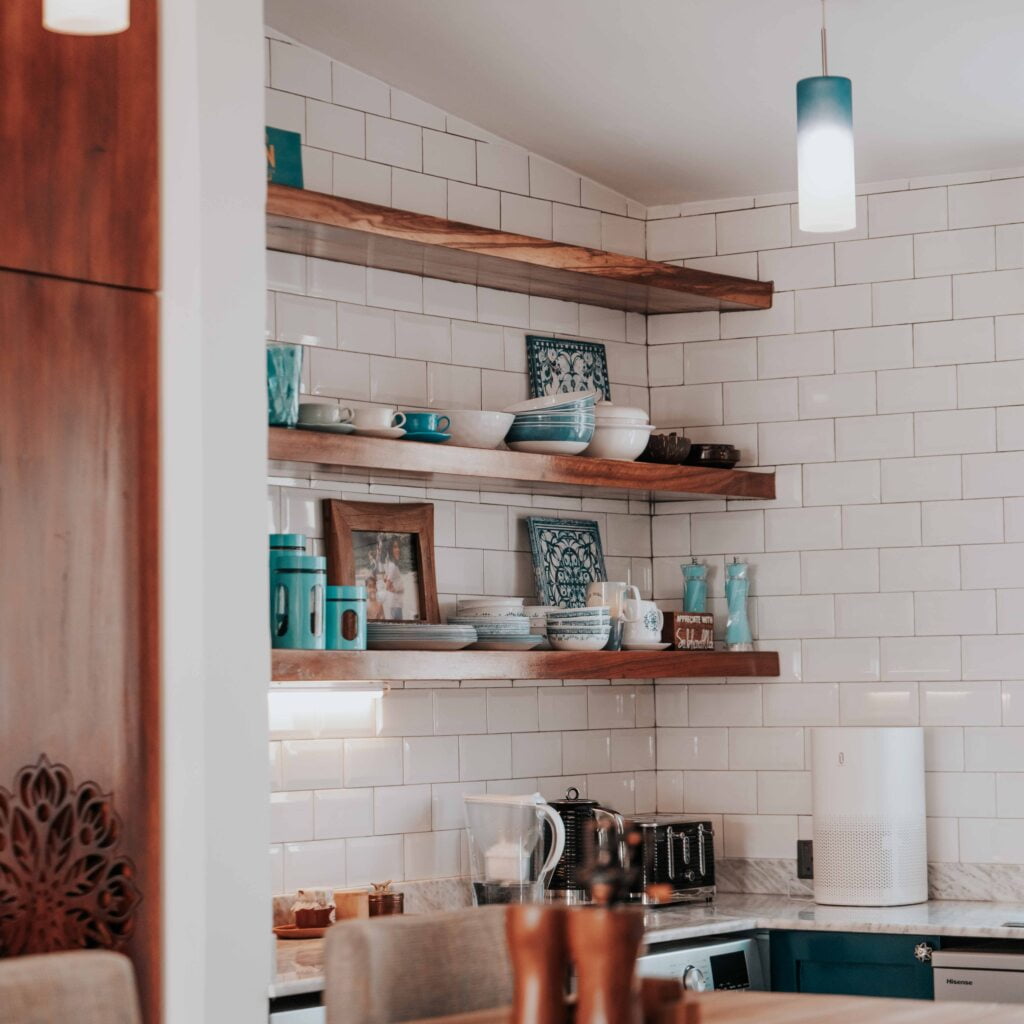
- 19. Install Open Shelving with Brackets
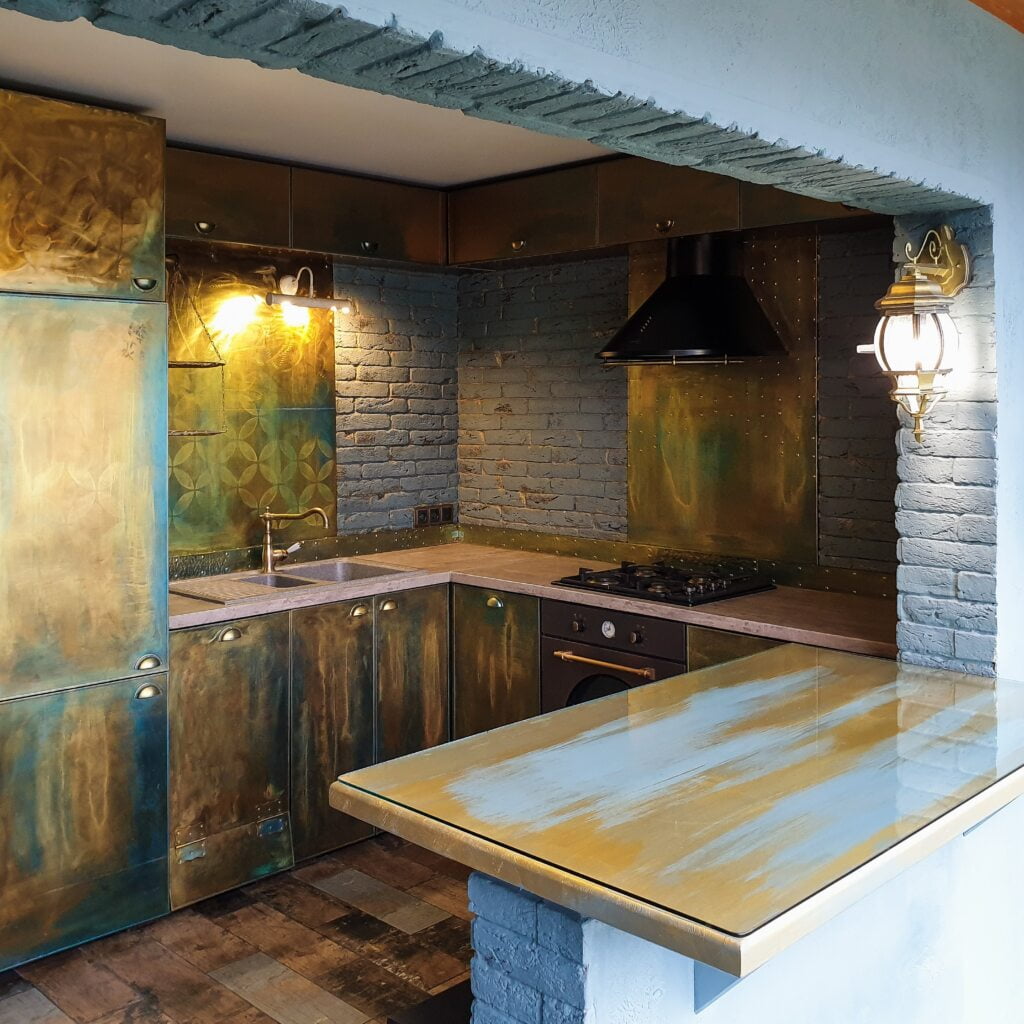
- 20. Install a Range Hood
- Conclusion

Introduction
The kitchen is often referred to as the heart of the home, and for a good reason. It’s where we gather to cook, eat, and share precious moments with family and friends. Given its central role, it’s only natural to want your kitchen to be functional, stylish, and comfortable. While a full kitchen renovation can be a major undertaking, there are plenty of easy kitchen upgrades you can do yourself to transform the look and feel of your culinary space without breaking the bank. In this article, we’ll explore a range of DIY kitchen upgrade ideas that will breathe new life into your kitchen and make it a more inviting place for all your culinary adventures.
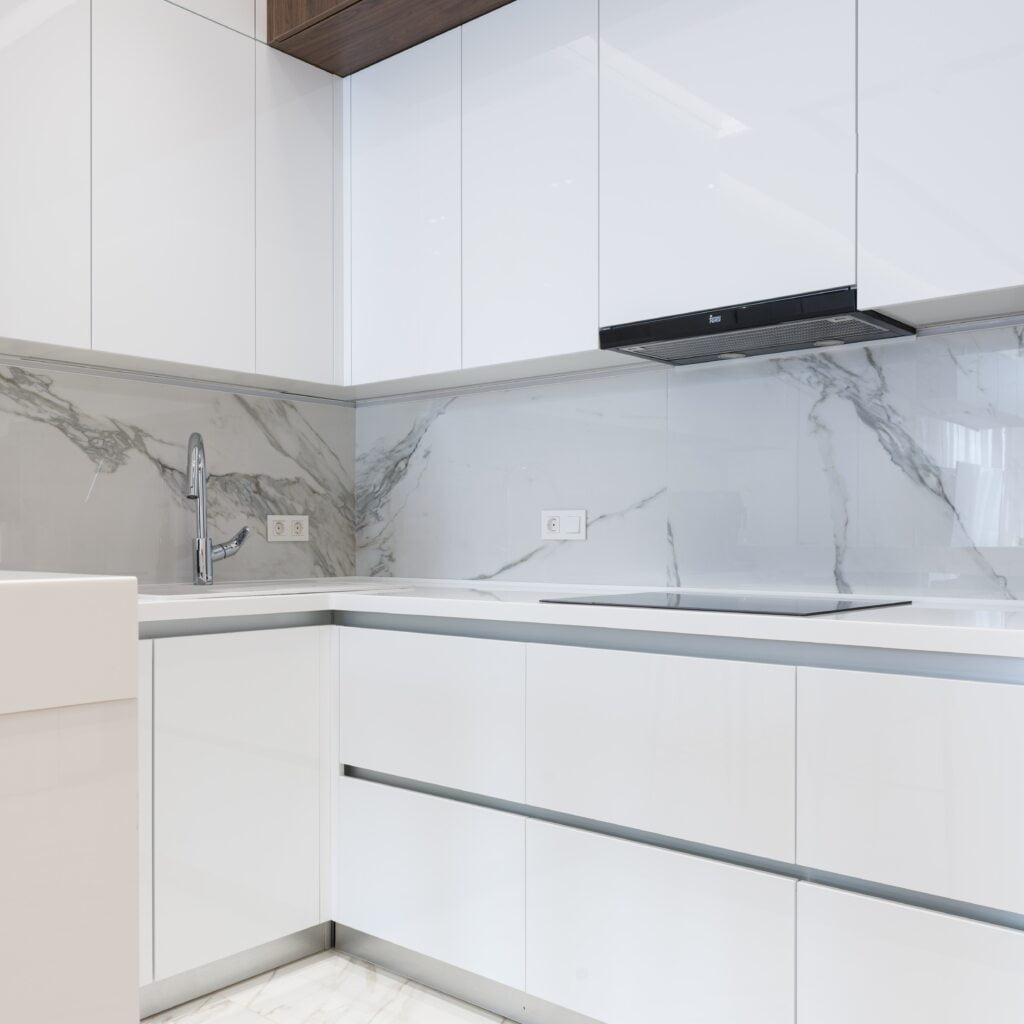
1. Paint Your Cabinets
One of the most effective and budget-friendly ways to refresh your kitchen is by painting your cabinets. Cabinets take up a significant amount of visual space in your kitchen, and a fresh coat of paint can completely change the room’s ambiance. Here’s how to do it:
Materials You’ll Need:
- Screwdriver
- Sandpaper (medium and fine grit)
- TSP (Trisodium Phosphate) or a degreaser
- Painter’s tape
- Primer
- Paint
- Brushes or paint sprayer
Steps:
- Remove the cabinet doors and hardware. Label each door with a piece of painter’s tape to remember where they go.
- Clean the cabinet surfaces thoroughly with TSP or a degreaser to remove any built-up grime and grease.
- Sand the cabinet surfaces with medium-grit sandpaper to roughen the existing finish.
- Apply a primer to help the paint adhere and cover any imperfections.
- Paint the cabinets with your chosen color using brushes or a paint sprayer.
- Allow the paint to dry completely before reassembling the cabinets.
The color you choose can dramatically change the look of your kitchen. Lighter colors can make the space feel more open and airy, while darker shades add a touch of sophistication.
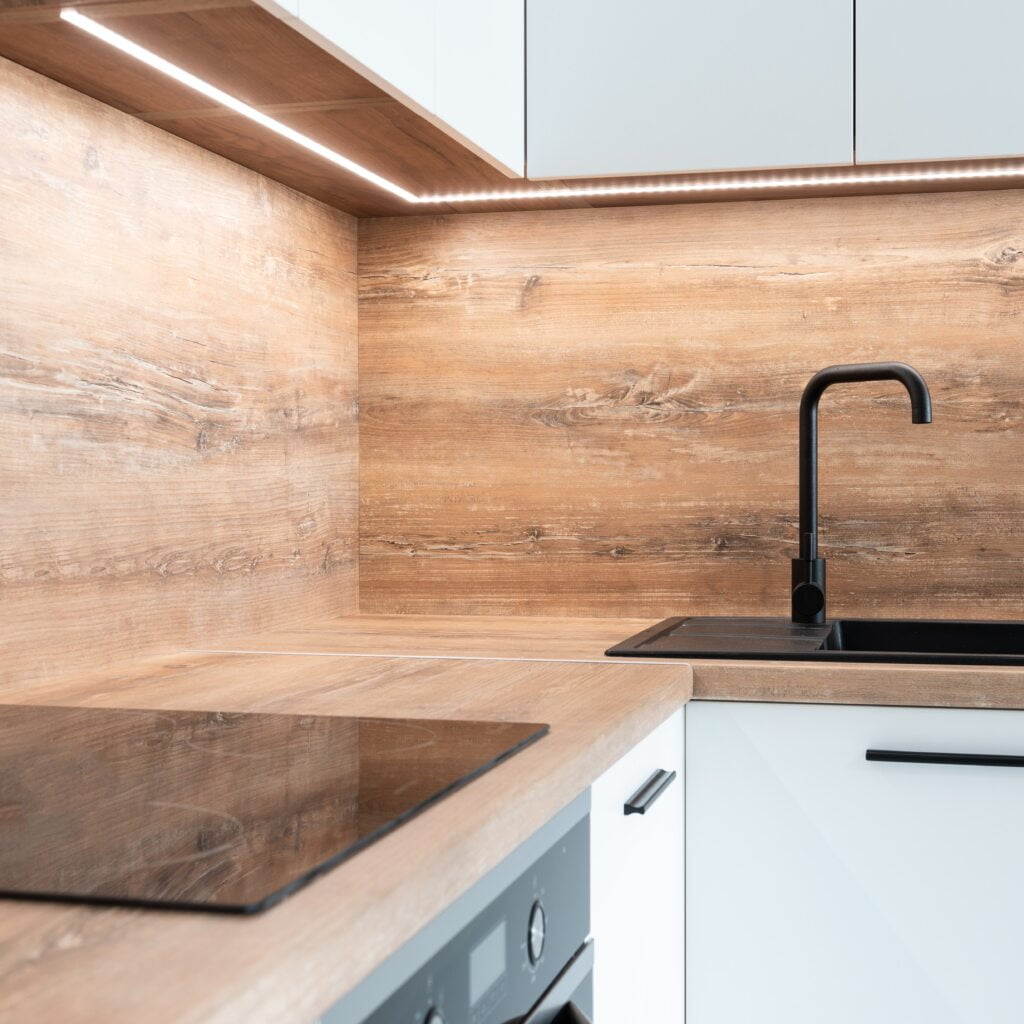
2. Install New Hardware for Your Kitchen Upgrades
Updating the cabinet hardware is a small change that can make a big difference in your kitchen’s overall look and Kitchen Upgrades. Swapping out old, worn-out knobs and handles for stylish new ones can instantly modernize your space. Here’s how to do it:
Materials You’ll Need:
- New cabinet hardware
- Screwdriver or drill
- Measuring tape
Steps:
- Remove the old hardware using a screwdriver or drill.
- Measure the hole spacing on your cabinets to ensure you purchase hardware that fits perfectly.
- Install the new knobs and handles, making sure they are aligned and securely fastened.
Consider various finishes and styles to match your kitchen’s aesthetic, whether it’s classic, contemporary, or rustic.
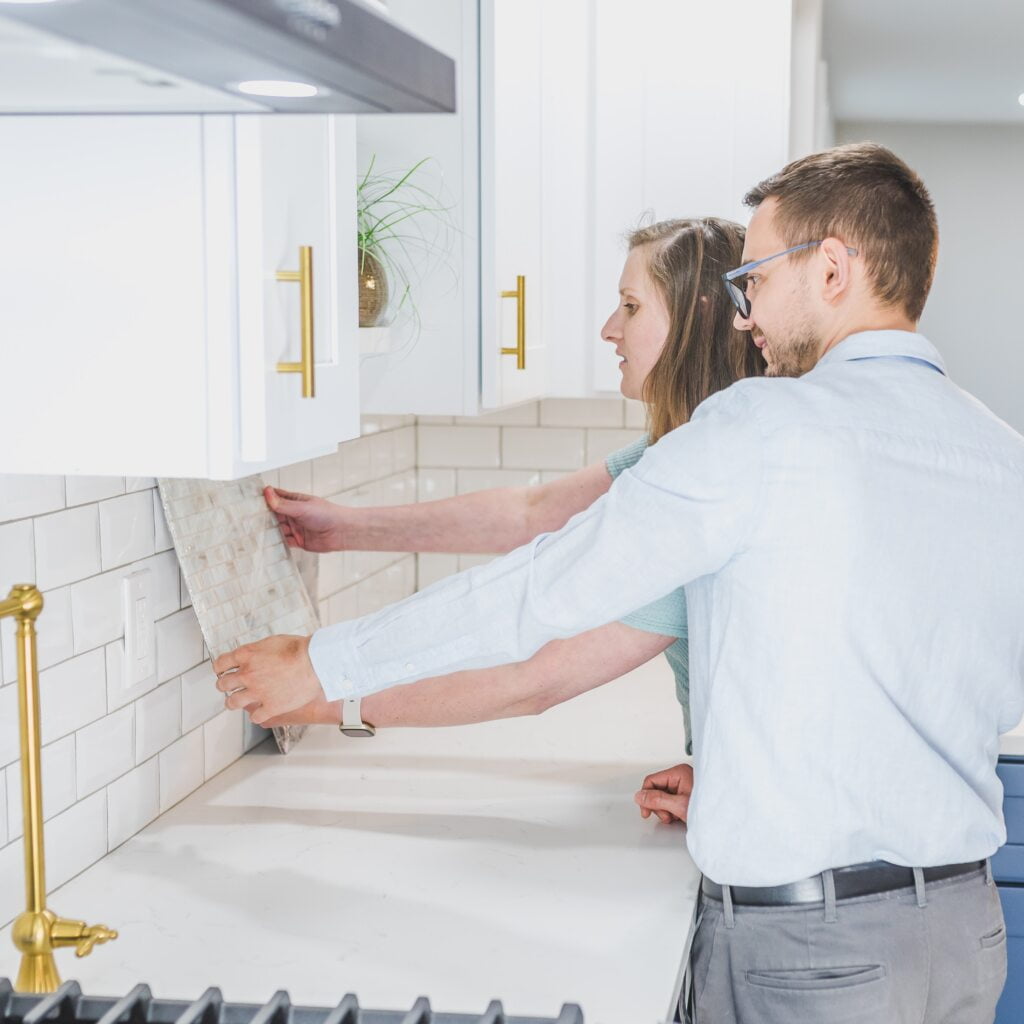
3. Add a Backsplash
A backsplash not only protects your kitchen walls from splashes and stains but also adds a decorative element to the space. Installing a backsplash is a relatively simple DIY project that can transform your kitchen’s appearance and Kitchen Upgrades
Materials You’ll Need:
- Tiles or peel-and-stick backsplash
- Tile adhesive
- Tile spacers
- Tile saw (if necessary)
- Grout
- Trowel
- Sponge
Steps:
- Measure the area where you want to install the backsplash and purchase enough tiles or peel-and-stick backsplash to cover it.
- Clean the wall surface thoroughly.
- Apply tile adhesive to the wall using a trowel.
- Place the tiles or peel-and-stick backsplash onto the adhesive, using tile spacers to maintain even gaps.
- Allow the adhesive to dry, then apply grout between the tiles.
- Wipe away excess grout with a sponge, leaving the tiles clean and shiny.
A well-chosen backsplash can add a pop of color or texture to your kitchen, enhancing its overall design and your kitchen upgrades.
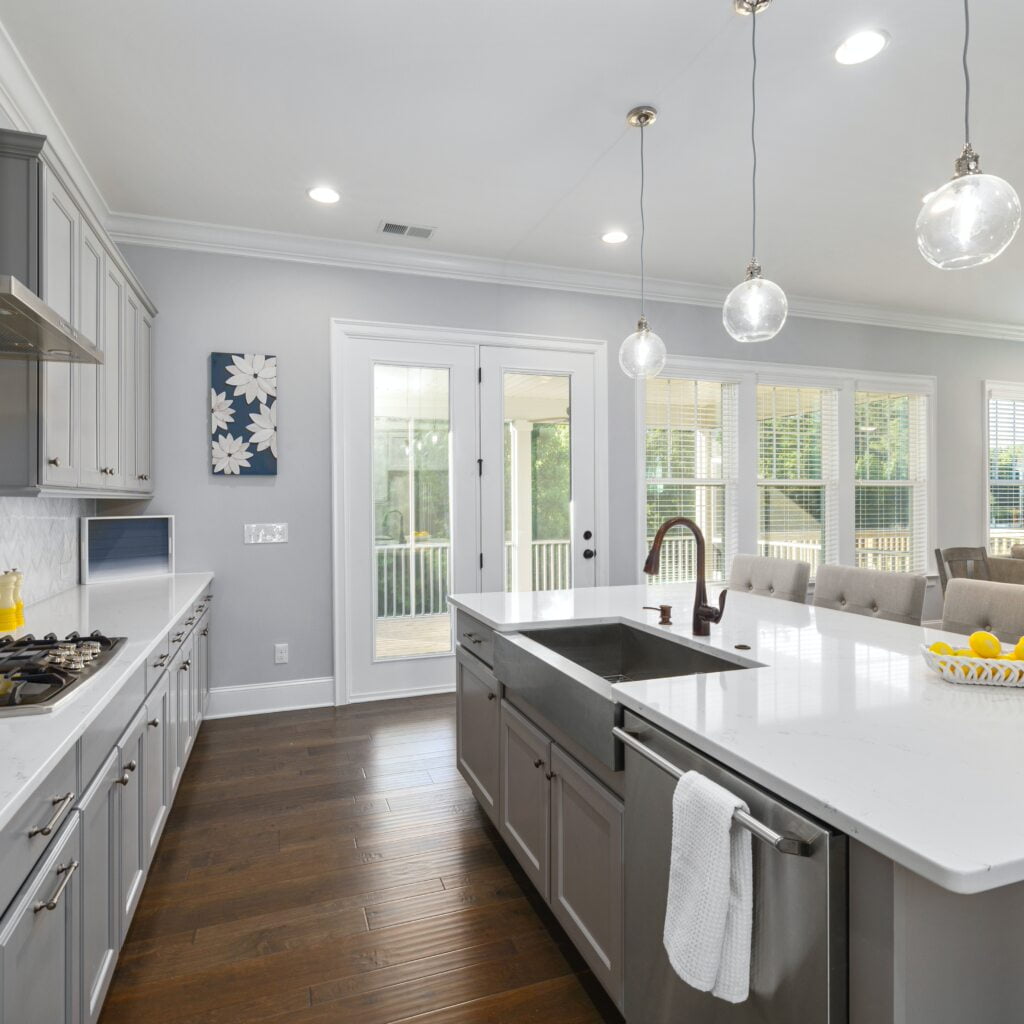
4. Upgrade Lighting Fixtures
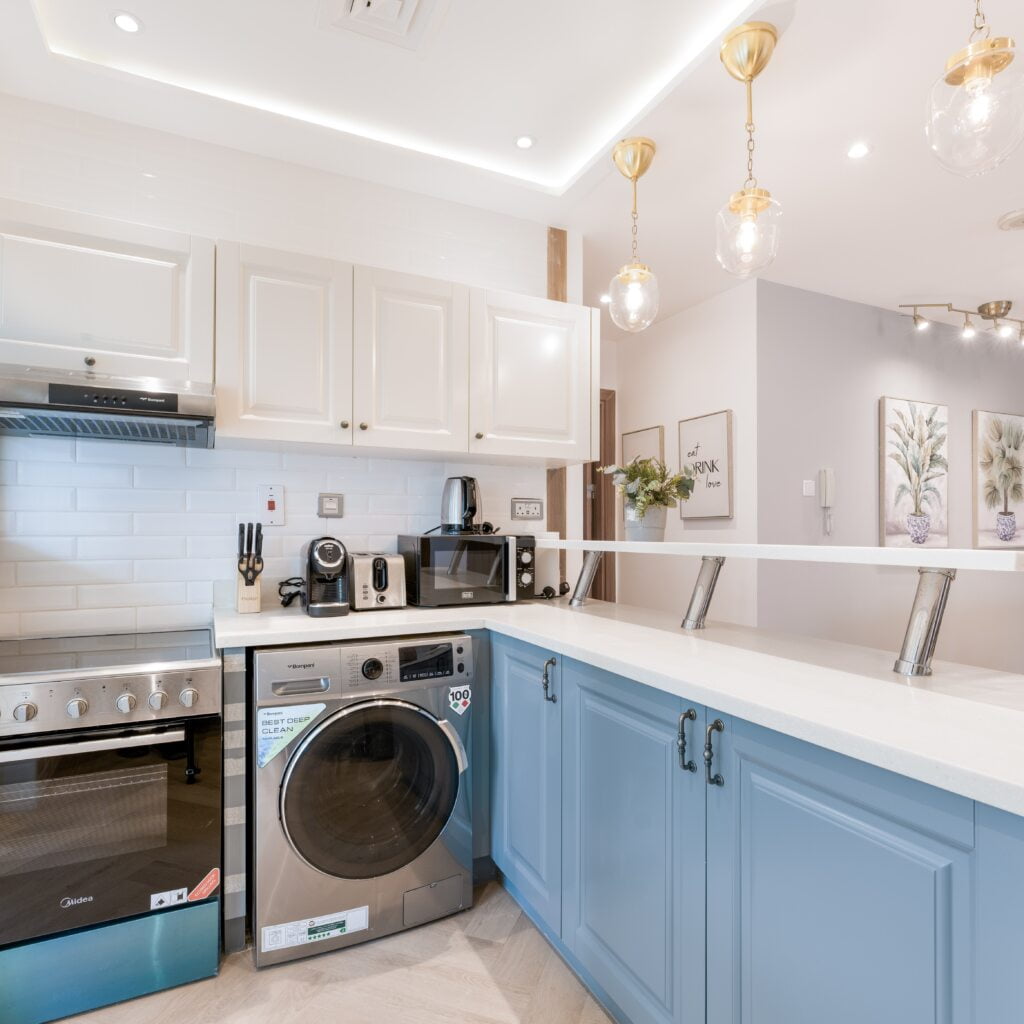
Good lighting is essential in the kitchen, both for practical tasks like cooking and for creating a welcoming atmosphere. Replacing outdated lighting fixtures with new ones can significantly impact the kitchen’s ambiance and your kitchen upgrades.
Materials You’ll Need:
- New lighting fixtures
- Screwdriver
- Wire stripper and connectors (if necessary)
Steps:
- Turn off the power to the existing lighting fixtures at the circuit breaker.
- Remove the old fixtures by unscrewing them from the ceiling or wall.
- Disconnect the wiring, making sure to cap the exposed wires.
- Install the new lighting fixtures according to the manufacturer’s instructions, connecting the wires securely.
- Turn the power back on and test the new fixtures.
Consider installing pendant lights over an island or bar area or adding under-cabinet lighting for both functionality and style.
5. Revive Your Countertops
While replacing countertops is a more involved project best left to professionals, you can still give your existing countertops a fresh look with a few DIY options.
a. Painted Countertops
Painting your countertops is a temporary solution that can provide an entirely new look to your kitchen. It’s an excellent option if you’re on a tight budget and want a quick upgrade.
Materials You’ll Need:
- Sandpaper
- TSP (Trisodium Phosphate) or a degreaser
- Primer
- Countertop paint
- Paint roller and brush
- Polyurethane sealer
Steps:
- Sand the countertop surface lightly.
- Clean the countertops with TSP or a degreaser to remove any residues.
- Apply a primer designed for countertops.
- Paint the countertops with a special countertop paint.
- Allow the paint to dry completely and finish with a polyurethane sealer for durability.
b. Contact Paper
Contact paper is an affordable and easy way to give your countertops a new appearance. It comes in various colors and patterns, allowing you to choose a style that suits your kitchen.
- Steps:
- Clean and dry your countertops.
- Measure and cut the contact paper to fit your countertops.
- Carefully apply the contact paper, smoothing out any bubbles or wrinkles as you go.
While these methods are not a long-term solution, they can provide a cost-effective way to refresh your countertops until you’re ready for a more extensive renovation or kitchen upgrades.
6. Create a Kitchen Island
A kitchen island adds valuable counter space and storage while also enhancing the kitchen’s visual appeal. You can build a simple kitchen island yourself using readily available materials for your kitchen upgrades.
Materials You’ll Need:
- Two base cabinets (pre-assembled or DIY)
- Countertop material (wood, butcher block, or stone)
- Screws
- Screwdriver or drill
Steps:
- Arrange the base cabinets where you want the island to be.
- Secure the cabinets together using screws.
- Place the countertop material on top of the cabinets and secure it in place.
- You can customize your kitchen island by adding shelves, drawers, or a bar overhang for seating. It’s a functional and stylish addition that can become the focal point of your kitchen.

7. Open Shelving
Open shelving is a trendy and practical way to display your kitchenware and add character to your kitchen thus enhance your kitchen upgrades. It’s also a DIY project that you can complete with basic tools and materials.
Materials You’ll Need:
- Shelving brackets
- Wooden shelves or pre-made shelves
- Screws
- Screwdriver or drill
- Level
Steps:
- Decide where you want to install the shelves and mark the desired height using a level.
- Attach the shelving brackets to the wall using screws.
- Place the wooden shelves on top of the brackets and secure them in place.
Open shelves allow you to showcase your favorite dishes, cookbooks, and decorative items, giving your kitchen a personalized touch with unique kitchen upgrades.

8. Organize Your Kitchen
Sometimes, the most significant upgrade you can give your kitchen is better organization. A well-organized kitchen not only looks neater but also functions more efficiently. Here are some organization ideas you can implement for your kitchen upgrades:
a. Drawer Dividers
Use drawer dividers to separate utensils, cutlery, and kitchen gadgets, keeping your drawers tidy and accessible.
b. Cabinet Pull-Outs
Install pull-out shelves or baskets in your lower cabinets to maximize storage and make it easier to reach items in the back.
c. Pantry Shelving
Add adjustable shelving to your pantry to create more space for food storage and organization.
d. Magnetic Spice Rack
Use magnetic strips or racks on the inside of cabinet doors to store and organize spices and small containers.
e. Pot Rack
Hang a pot rack from the ceiling to free up cabinet space and display your cookware in a visually appealing way.

9. Personalize Your Kitchen
Lastly, don’t forget to add personal touches to your kitchen. Incorporate items like artwork, plants, or decorative dishes that reflect your style and personality for your kitchen upgrades.
Ideas:
- Hang framed artwork or photographs on the walls.
- Add a potted herb garden on a windowsill.
- Display colorful dishes or cookware on open shelves.
- Use decorative kitchen towels and rugs to add color and texture.
For your kitchen upgrades, personalization can make your kitchen feel cozier and more inviting.
10. Install a Tile Backsplash
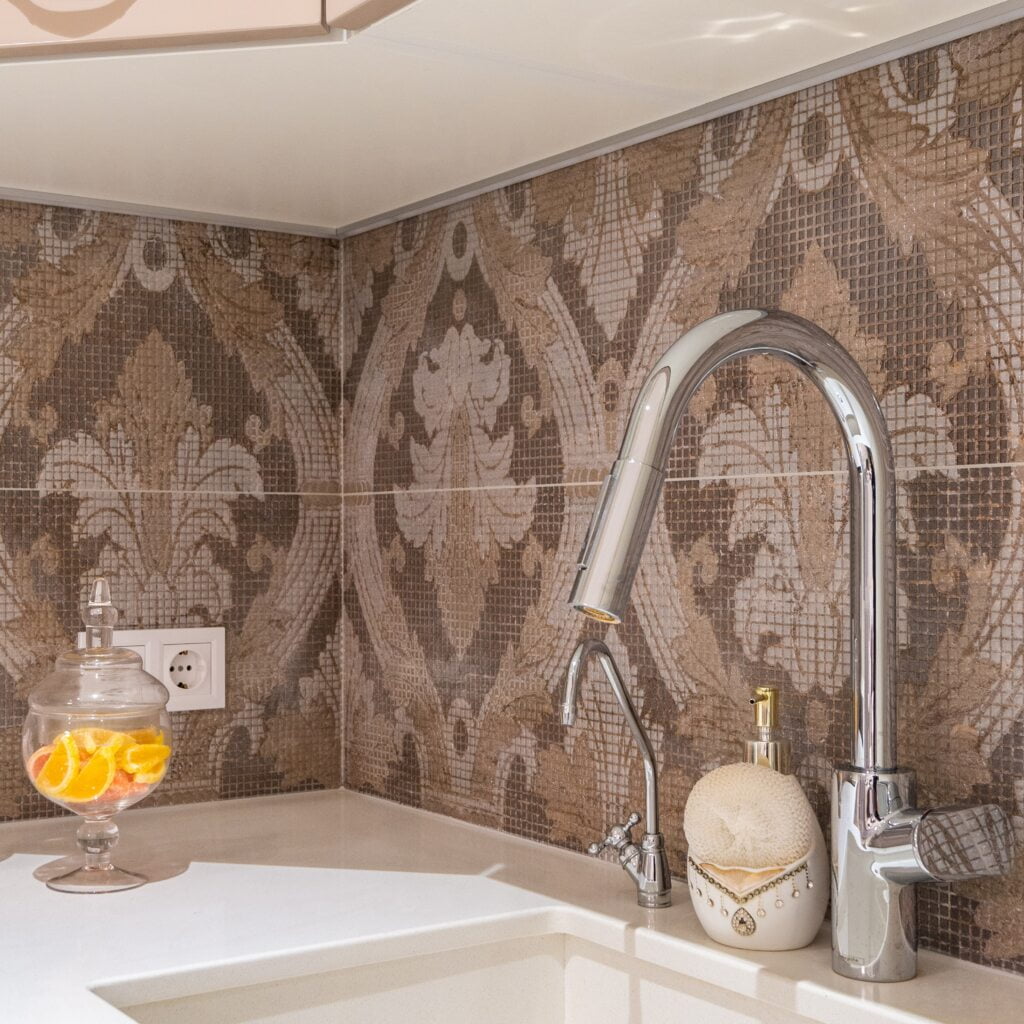
A tile backsplash can add style and functionality to your kitchen. It protects your walls from spills and splatters while providing an opportunity to introduce color and texture. Here’s how to install a tile backsplash:
Materials You’ll Need:
- Tiles
- Tile adhesive
- Tile spacers
- Grout
- Tile saw (if necessary)
- Trowel
- Sponge
Steps:
- Clean the wall surface where you want to install the backsplash.
- Measure the area and purchase enough tiles to cover it.
- Apply tile adhesive to the wall using a trowel.
- Place the tiles on the adhesive, using spacers to maintain even gaps.
- Allow the adhesive to dry before applying grout.
- Apply grout between the tiles, and then wipe away excess grout with a sponge.
Choose subway tiles for a classic look, mosaic tiles for a vibrant feel, or even peel-and-stick tiles for a quicker installation.
11. Upgrade Your Faucet
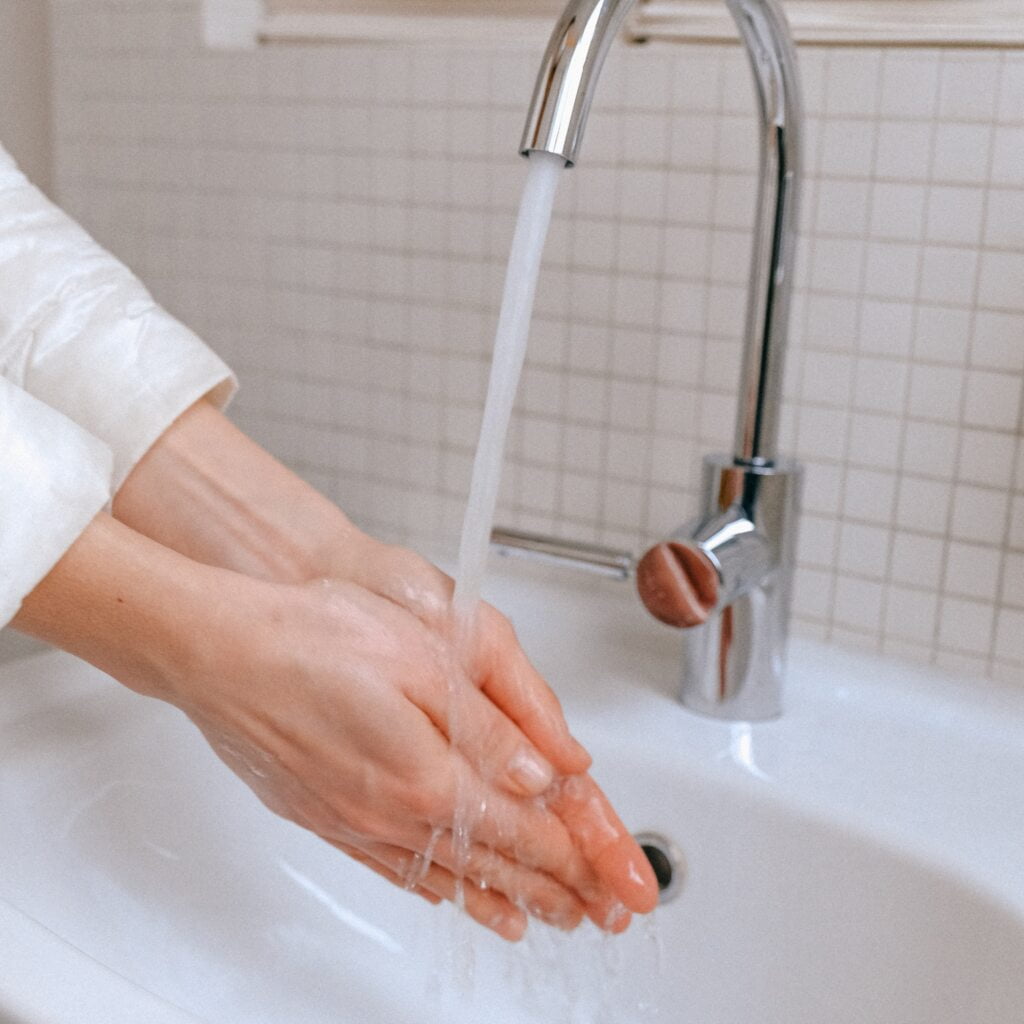
Upgrading your kitchen faucet can be a small change with a big impact. A sleek, modern faucet not only enhances the functionality of your kitchen but also adds an element of style.
Materials You’ll Need:
- New kitchen faucet
- Adjustable wrench
- Plumber’s tape
- Bucket or towels (to catch water)
Steps:
- Turn off the water supply to the faucet.
- Disconnect the old faucet by loosening the nuts and removing the water lines.
- Follow the manufacturer’s instructions to install the new faucet, attaching the water lines and ensuring a tight connection.
- Turn the water supply back on and check for any leaks.
- Consider a pull-down or pull-out faucet with a sprayer for added convenience and versatility.
12. Create a Coffee Nook
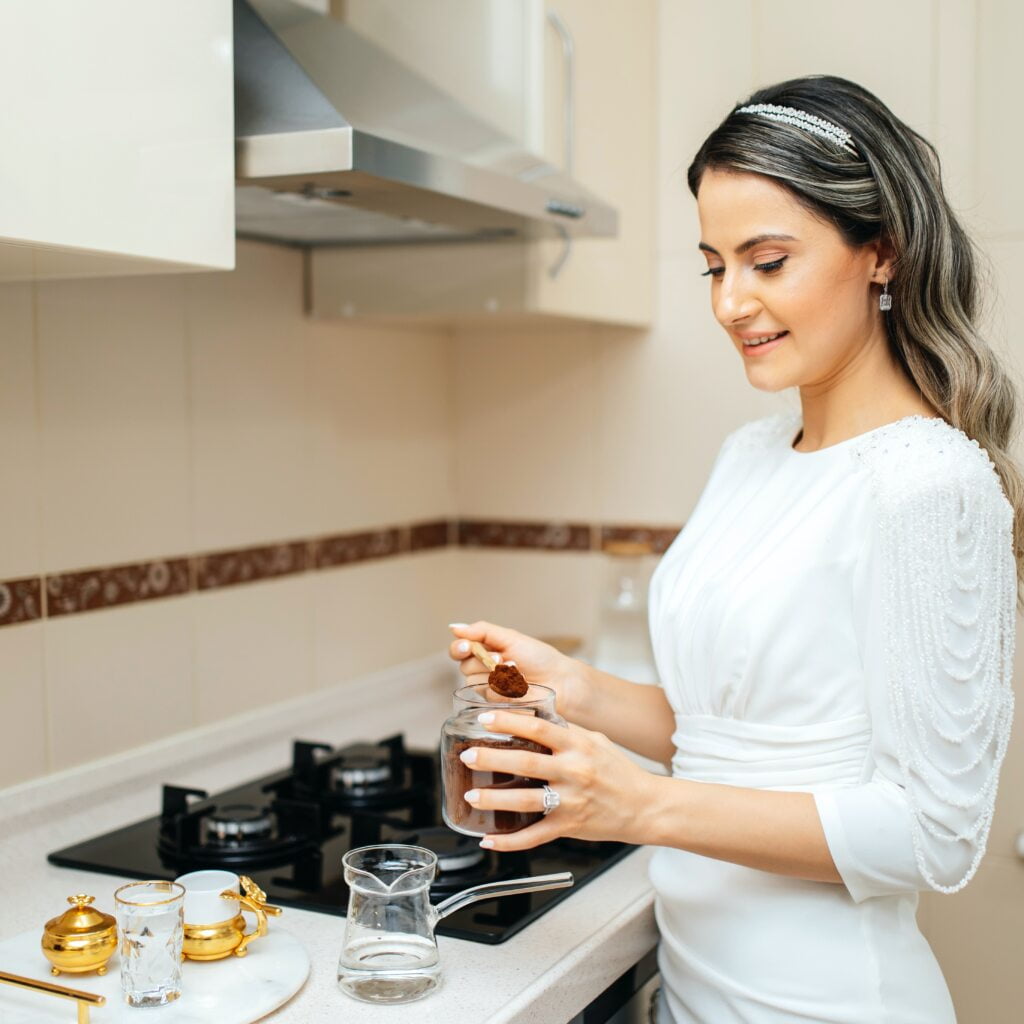
If you’re a coffee lover, why not create a dedicated coffee nook in your kitchen? It’s a charming addition that can make your morning routine more enjoyable.
Ideas:
- Install a floating shelf or small cabinet for your coffee maker and supplies.
- Display your favorite coffee mugs on hooks or a mug tree.
- Use decorative containers to store coffee beans, tea bags, and sweeteners.
- Add artwork or a chalkboard for coffee quotes or the day’s menu.
Having a designated spot for your morning brew can bring a cozy cafe-like atmosphere to your kitchen.
13. Reface Your Cabinets
If you’re happy with the layout and functionality of your kitchen cabinets but want to update their appearance, consider cabinet refacing. This involves replacing the cabinet doors and drawer fronts while keeping the existing cabinet boxes for your kitchen upgrades.
Materials You’ll Need:
- New cabinet doors and drawer fronts
- Hinges and hardware (if necessary)
- Screwdriver or drill
- Measuring tape
Steps:
- Remove the old cabinet doors and drawer fronts.
- Measure the dimensions of each door and drawer opening.
- Purchase new doors and fronts that fit these measurements.
- Install the new doors and fronts, attaching hinges and hardware as needed.
Cabinet refacing can give your kitchen a fresh look without the expense of completely replacing the cabinets, thus, can be in important item for your kitchen upgrades.
14. Install a Pot Filler Faucet
A pot filler faucet is a convenient addition for any kitchen, especially if you do a lot of cooking. It’s a faucet installed on the wall near your stove, allowing you to fill pots and pans directly on the cooktop for your kitchen upgrades.
Materials You’ll Need:
- Pot filler faucet
- Plumber’s tape
- Adjustable wrench
- Drill and hole saw (if necessary)
Steps:
- Turn off the water supply to the kitchen.
- Locate a suitable spot on the wall above your stove for the pot filler faucet.
- Follow the manufacturer’s instructions to install the faucet, ensuring a tight connection.
- Turn the water supply back on and check for any leaks.
A pot filler faucet not only adds functionality but also serves as a striking focal point in your kitchen upgrades.

15. Create a Chalkboard Wall
A chalkboard wall can serve as both a functional and decorative element in your kitchen upgrades. It’s perfect for jotting down grocery lists, recipes, or inspirational quotes.
Materials You’ll Need:
- Chalkboard paint
- Paintbrush or roller
- Painter’s tape
Steps:
- Clean and prep the wall surface where you want to create the chalkboard.
- Apply painter’s tape to outline the area you want to paint.
- Apply chalkboard paint to the taped-off area, following the manufacturer’s instructions for drying and curing.
- Remove the tape and season the chalkboard by rubbing chalk all over it and erasing it.
A chalkboard wall adds a touch of whimsy to your kitchen while keeping you organized for your kitchen upgrades.

16. Add Under-Cabinet Lighting
Under-cabinet lighting not only improves task lighting for food prep but also adds a warm and inviting glow to your kitchen. Here’s how to install it for your kitchen upgrades:
Materials You’ll Need:
- LED strip lights or puck lights
- Mounting brackets or adhesive clips
- Drill or screwdriver
- Wire connectors (if necessary)
- Transformer or power supply
Steps:
- Measure and plan the placement of the lights.
- Install mounting brackets or adhesive clips under the cabinets.
- Attach the LED strip lights or puck lights to the brackets or clips.
- Connect the lights to a transformer or power supply and plug it in.
- Hide the wires and connectors as needed.
Under-cabinet lighting can be dimmed or adjusted to suit your kitchen’s ambiance and your needs for your kitchen upgrades.

17. Install a Wine Rack
If you enjoy wine, consider adding a wine rack to your kitchen. It’s a practical and stylish way to store your favorite bottles.
Ideas:
- Install a wine rack above your countertop or on a wall.
- Use a wine rack that fits inside a cabinet or pantry for discreet storage for your kitchen upgrades.
- Incorporate a wine rack into a kitchen island or bar area.
A wine rack can also be a decorative element, showcasing your wine collection as part of your kitchen decor, can be a unique addition to your kitchen upgrades.

18. Organize Your Spice Collection
A well-organized spice collection can make cooking more efficient and enjoyable. Consider these ideas to keep your spices tidy for your kitchen upgrades:
Ideas:
- Use spice racks or organizers inside cabinet doors.
- Label spice jars clearly for easy identification.
- Group spices by type (e.g., baking spices, herbs, or international spices).
- Store spices in a pull-out drawer or carousel for easy access.
A well-organized spice collection will help you find the ingredients you need quickly while adding a neat and organized feel to your kitchen.
19. Install Open Shelving with Brackets
Open shelving provides a sleek and modern look while keeping your kitchen essentials within easy reach. Here’s how to install open shelving with brackets:
Materials You’ll Need:
- Shelving boards
- Brackets
- Screws
- Screwdriver or drill
- Level
Steps:
- Measure the desired location for the shelves and mark where you’ll install the brackets.
- Attach the brackets to the wall using screws.
- Place the shelving boards on top of the brackets and secure them in place.
Open shelving can be used for displaying dishes, glassware, cookbooks, or decorative items, adding a touch of personality to your kitchen.
20. Install a Range Hood
If your kitchen doesn’t have a range hood, consider installing one. A range hood helps to remove smoke, odors, and grease from cooking, keeping your kitchen cleaner and more comfortable.
Materials You’ll Need:
- Range hood unit
- Ductwork (if venting outside)
- Screws and anchors
- Drill
Steps:
- Choose a location for the range hood above your stove and mark the position.
- Install the range hood, following the manufacturer’s instructions.
- If venting outside, connect the ductwork and ensure it’s properly sealed.
- Test the range hood to ensure it’s working correctly.
A range hood not only improves air quality but can also be a stylish addition to your kitchen’s design.

Conclusion
In conclusion, you don’t need a massive budget or professional help to transform your kitchen. With a little creativity, some basic tools, and a weekend or two of your time, you can tackle these easy kitchen upgrades yourself. Whether it’s a fresh coat of paint on your cabinets, a stylish backsplash, or new lighting fixtures, these DIY projects will help you create a kitchen that’s not only functional but also a welcoming and enjoyable space for cooking and gathering with loved ones.
So, roll up your sleeves, gather your materials, and get started on making your kitchen the heart of your home. Remember, the key to a successful kitchen upgrade is planning and patience. Take your time, follow instructions carefully, and enjoy the process of transforming your kitchen into a space you’ll love for years to come.
The additional kitchen upgrades used here offer you a wide range of options to enhance your culinary space. Whether you’re focusing on aesthetics, functionality, or both, there are DIY projects to suit every style and budget. From installing a tile backsplash to adding open shelving or creating a dedicated coffee nook, these upgrades can transform your kitchen into a space you’ll love to cook and spend time in. Remember to plan your projects carefully, gather the necessary materials and tools, and take your time to ensure a successful and satisfying kitchen upgrade. Enjoy the process of making your kitchen a more beautiful and functional space for you and your family to enjoy. Happy kitchen upgrading!

[…] words together; it’s about creating a connection that resonates with the target audience, fostering brand loyalty and, most importantly, encouraging a specific course of […]
Thank you for highlighting the essence of copywriting! I’m thrilled you recognize that it goes beyond just words; it’s about establishing a connection with the audience, fostering brand loyalty, and encouraging specific actions. If you have any questions or if there’s a particular aspect of copywriting you’d like more insights on, feel free to let me know. Your engagement is appreciated, and I’m here to assist with any further information you may seek!
[…] Decoding the Essence of Copywriting: Unveiling Its Art and Impact […]
Thank you for quoting from the article, ‘Decoding the Essence of Copywriting: Unveiling Its Art and Impact.’ I’m delighted to see your engagement with the content. If you have any questions or if there’s a specific aspect you’d like to explore further, feel free to share. I’m here to continue the conversation on the art and impact of copywriting. Happy reading!
certainly like your website but you need to take a look at the spelling on quite a few of your posts Many of them are rife with spelling problems and I find it very troublesome to inform the reality nevertheless I will definitely come back again
Vitazen Keto Gummies For the reason that the admin of this site is working, no uncertainty very quickly it will be renowned, due to its quality contents.